Many times in our articles we have mentioned the importance of proper security management of your crypto assets. A number of wallets serve this purpose but the most secure among them are hardware wallets. Today we will take a closer look at a device offered by the Czech manufacturer SatoshiLabs, the company behind the Trezor. To be more precise we will be looking at their bestseller: the Trezor One.
Introduction to Trezor – Why you can trust them
SatoshiLabs is a company that is showing us over 9 years of experience on the security market in the cryptocurrency space. It’s one of the oldest companies still active today in the cryptocurrency industry.
There are two devices in their product line-up. One of them is the Trezor T and the other is the Trezor One. They support over 1,300 cryptocurrencies and are active in almost all countries around the globe.
Additionally, Trezor is the creator of the highest level of security protocols BIP39 + BIP44. This puts it among the clear leaders in the hardware wallet segment.
Trezor One – buying & unboxing
When buying a crypto wallet everyone should pay attention to a very important aspect. The source from which we want to get the device must be verified by Trezor itself. Ideally, to avoid making a valuable mistake it should be the official website of the manufacturer.
Luckily Trezor also operates its own Amazon shop in which you can safely buy their products with the Amazon delivery service.
Things to avoid are online auctions, Ebay sellers, dodgy websites and similar places where someone else may have already had access to the device. Using used hardware wallets is absolutely wrong and should never be done. Your crypto wallet is personal and private and should stay like that.
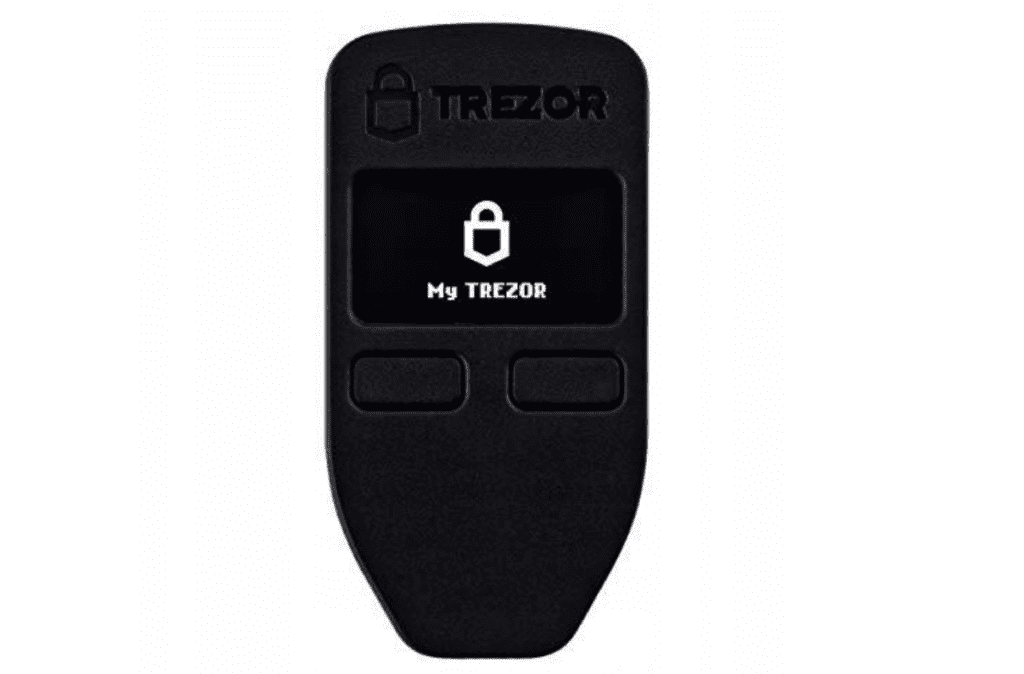
If you have already ordered your wallet, look carefully at its box. Firstly, it should be in a foil wrapper. After removing this there should be holograms on both the top and bottom. Check if they are intact. If they are, it means that your device was never unpacked and you are its first and only user.
When you open the package, you will see several small items besides the wallet itself. These are:
- a USB Type B cable,
- a short user manual,
- two pieces of paper for noting down security phrases,
- a lanyard,
- four Trezor stickers.
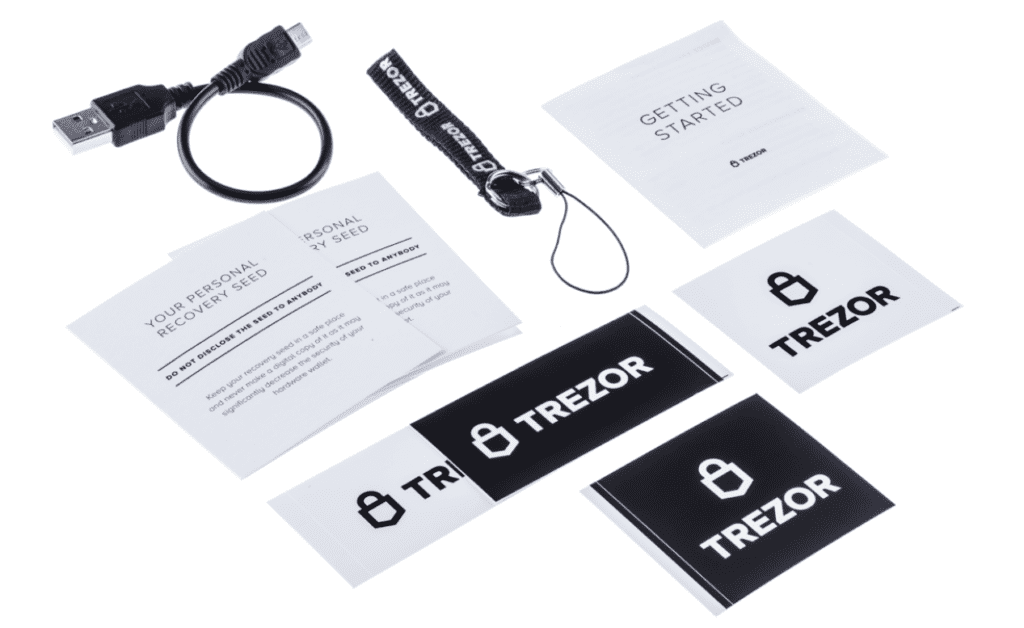
At this point, it’s definitely worth checking out the mentioned pieces of paper. These are used to note down the so-called seed of your crypto wallet. Make sure that they’re intact and have no signs of potential previous filling.
Getting the Trezor One up and running for the first time
Note that the Trezor One does not have a built-in battery. Therefore, in order to start it up, it should be connected to a computer. This is done using the supplied USB cable. Once this is done, the display will show “Welcome! Please visit trezor.io/start”.
Following the instructions, we visit the manufacturer’s website, where we are asked to install the application.
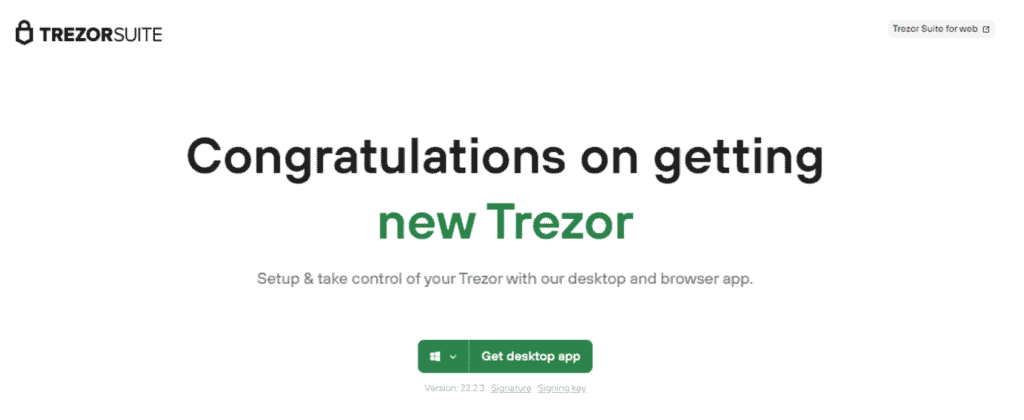
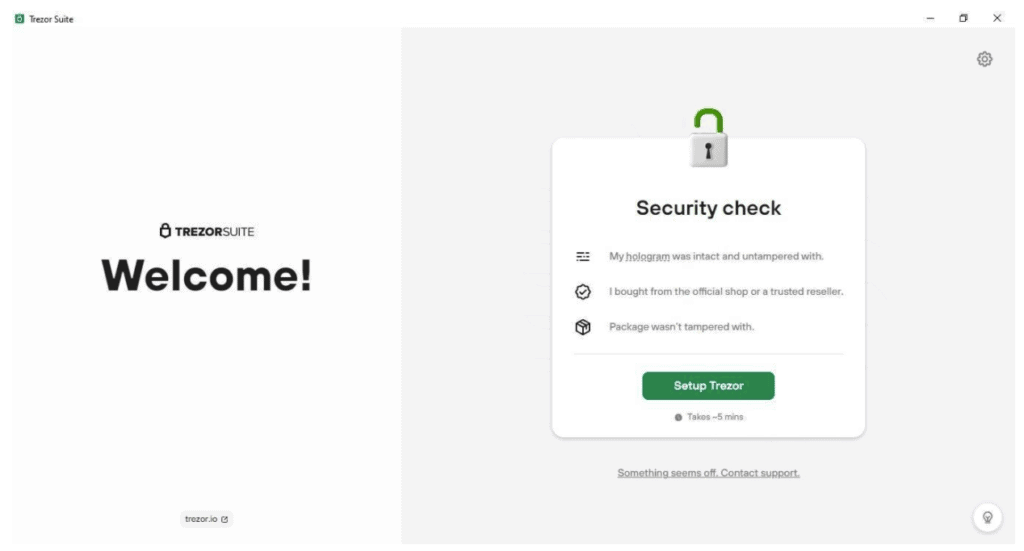
The procedure is very fast and after a while the application ‘Trezor Suite’ is on our computer. After launching the application, in one of its first windows we are asked to confirm that the previously mentioned security conditions have been met. Trezor is strongly committed to protecting its users from fraudsters and therefore, we once again verify that the source from which we made the purchase was correct, that the holograms were intact and that the packaging was intact.
In the next step we come across a the following notice:
“The Trezor device is shipped without firmware, so you can install the latest version directly by clicking the button below. When the device boots, it will confirm that the firmware is authentic, or it will display a warning.”
Thus, by purchasing our device’s firmware, we go through another security verification process. As we mentioned earlier – security is a very important aspect to Trezor.
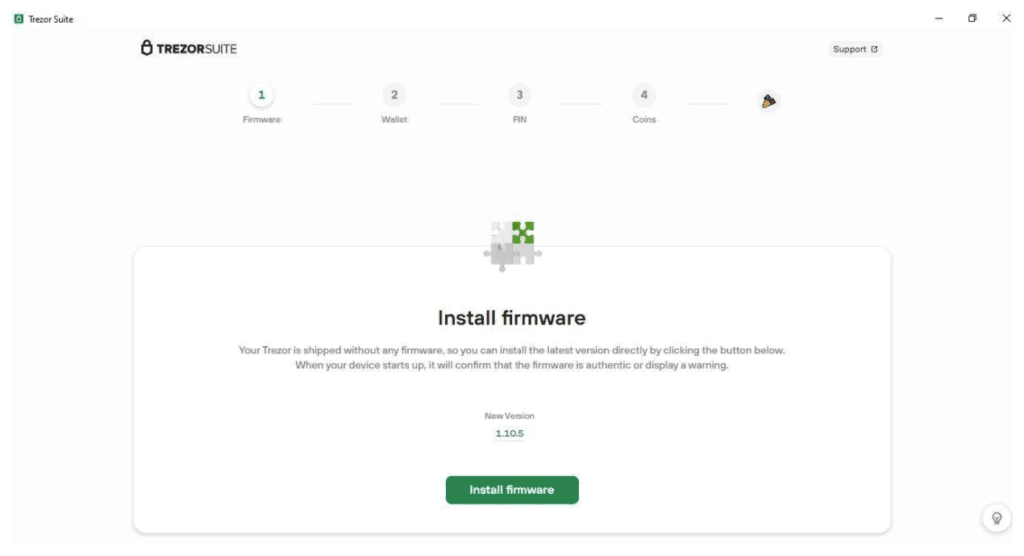
During the software installation process, we are asked to disconnect and reconnect the device. This is a completely safe process, similar to installing an update on a computer where there is often a need to reboot the system.
After the installation process, a window will appear in front of us, with the content:
“Create a new wallet or restore from backup.”
In this case, we will create a new wallet. However, it is worth discussing what restoring from backup means. This refers to a situation where we have lost access to our previously used Trezor. This can be a result of it being stolen, lost, damaged, etc. Using this option we will need the so-called seed, which are 24 simple keywords that we noted down on the supplied sheets during the first installation. We will discuss them in detail in a moment, because we will create a new wallet where we will be asked to note them down. Nevertheless, these passwords will allow us to fully recover the contents of the previously used wallet, no matter what happened to it.
All Trezor hardware wallets come without a pre-installed seed. This means that when you install your new hardware wallet, you will generate a brand new seed and matching private/public key-pair with the device and supporting Trezor software.
Keeping your seed safely stored at a hidden place is the single most important action you will have to take when you start using a Trezor hardware wallet. This seed acts like a backup code for when your device breaks or when you lose it.
Note that anyone who will get access to the seed doesn’t need any other type of security layer like a pin-code to access the funds connected to the seed and private keys which it represents.
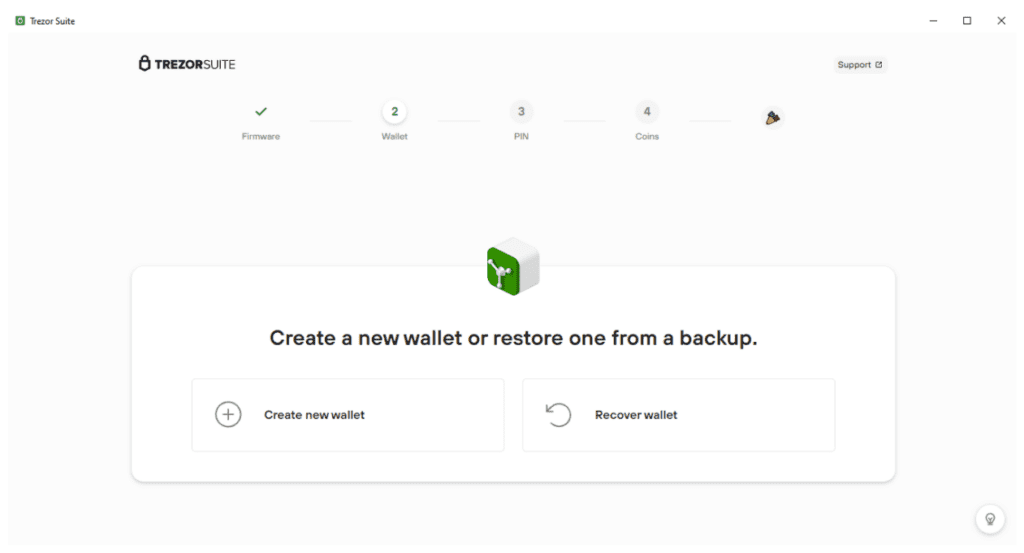
We are then proceeding to create a new wallet and with it the very important seed backup.
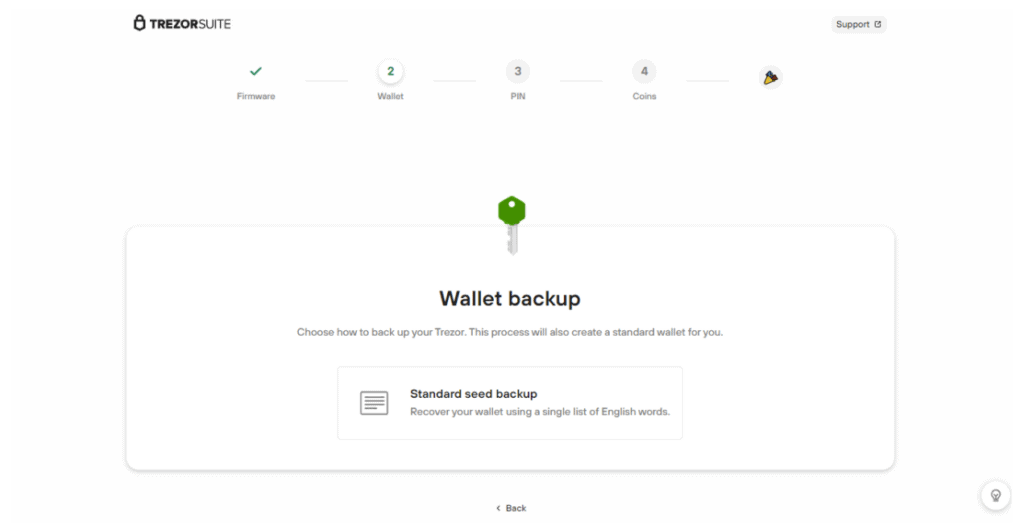
Once again, we are informed that in the next step we will obtain the security phrases. Here we are warned not to photograph them or share them with anyone. So we click on the warning boxes and proceed to list the phrases.
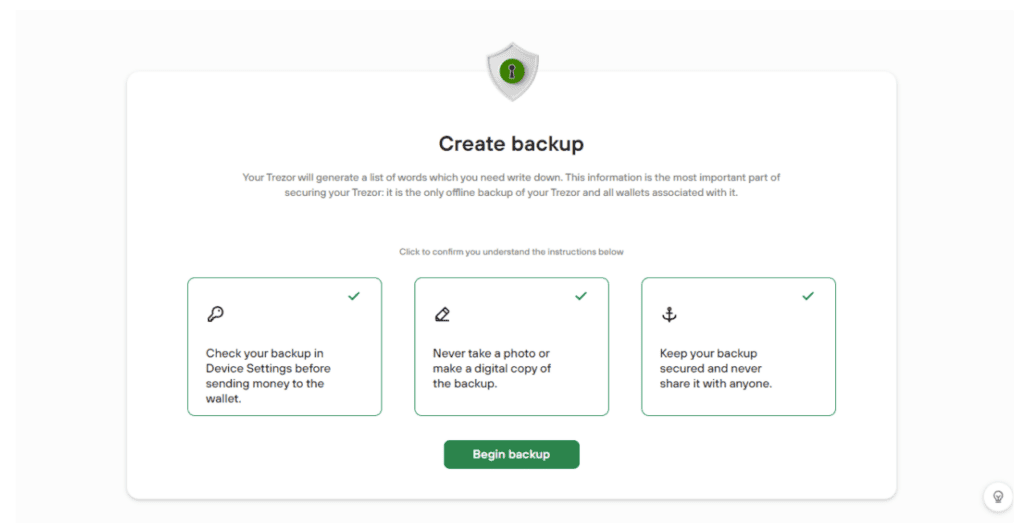
The seed will be displayed on the Trezor One. It’s forever linked to it until you remove all data and re-install your device and the sequence of the order of words is of key importance. A different sequence won’t translate to your private key. We will see them twice so as to make sure we have annotated them correctly.
The next step is to give our device a pin-code as an extra security layer to get into the system.
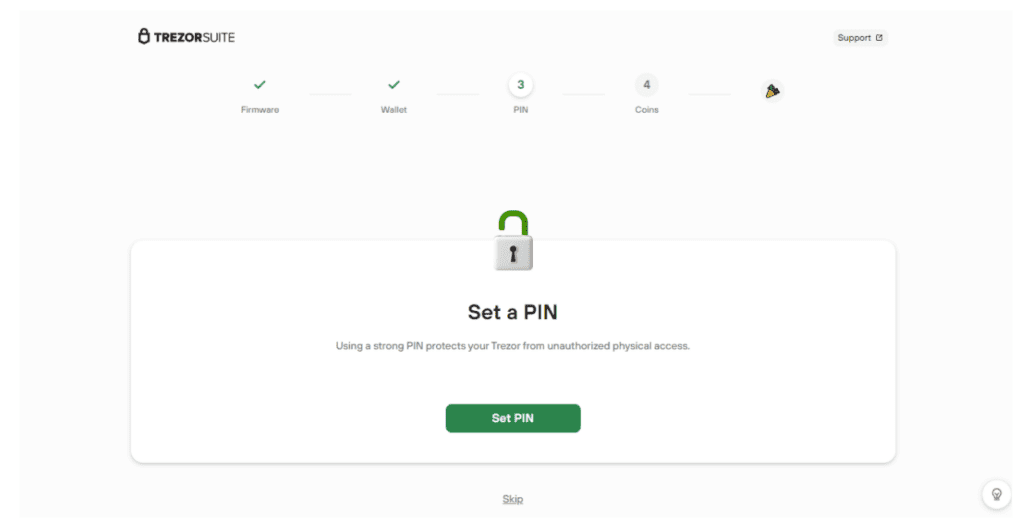
It can contain all 9 digits except for 0. We have to admit that the Trezor programmers, even in such a simple matter, showed a high level of security and creativity at the same time. When opening the device on your computer the screen on the Trezor will be divided into 9 fields, each containing a random digit. Watching them, we have to choose the right fields on the computer screen that correspond to your pin-code. We repeat the operation on the numbers and we are done.
Each time we connect the device to the computer the numbers will appear in a different order to create maximum security against for example a key-logger.
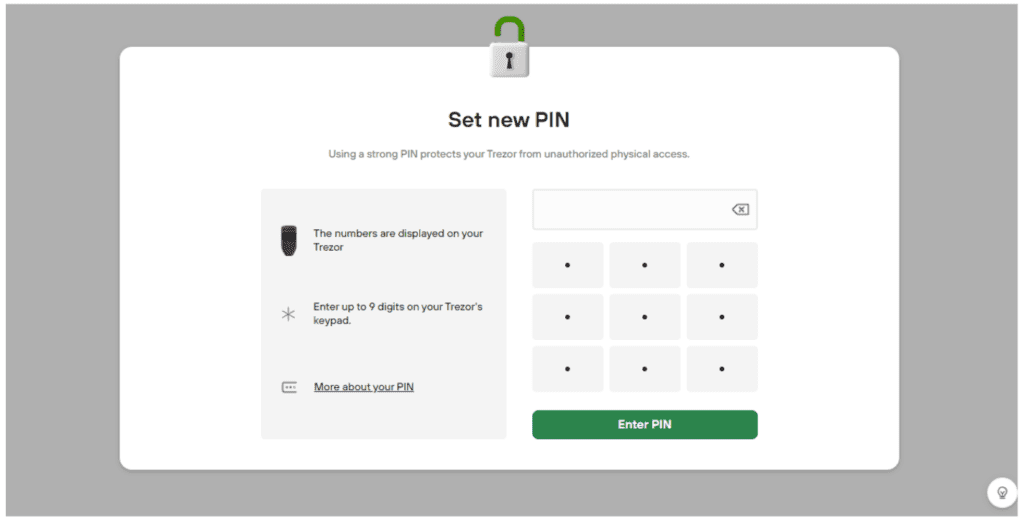
At this stage we have completed the basic and required phase of securing the device. As you can see it went very smoothly. Trezor made sure that everything was as clear and as easy to use as possible. Such a high level of security while taking care of the device: key phrases and the entered pin-code, gives us a full guarantee of protection for the cryptocurrencies we own.
How to operate the Trezor One?
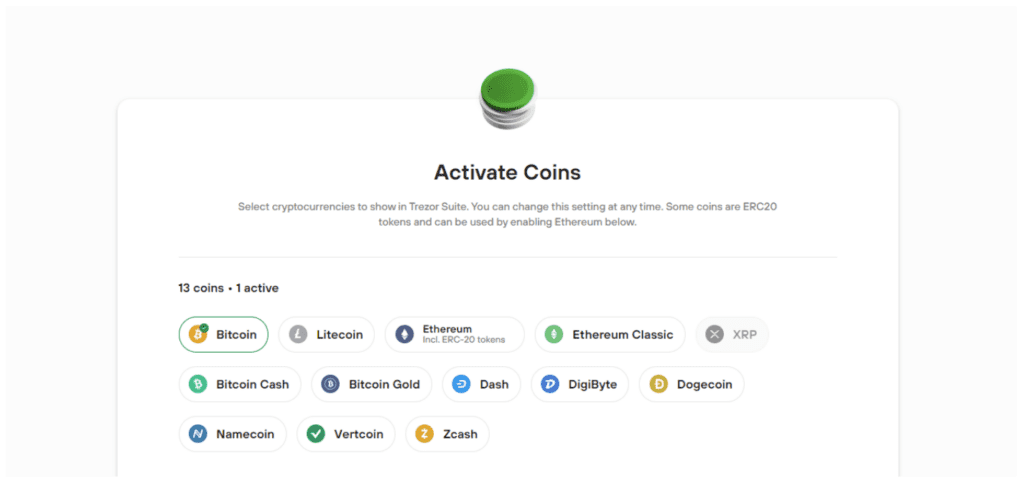
In the next step we have the possibility to activate wallets for the desired coins. For example, here we have chosen Bitcoin and Ethereum. To move on we confirmed the whole thing with the “Complete setup” button. We choose the “Standard wallet” and we can proceed to operate our wallet.
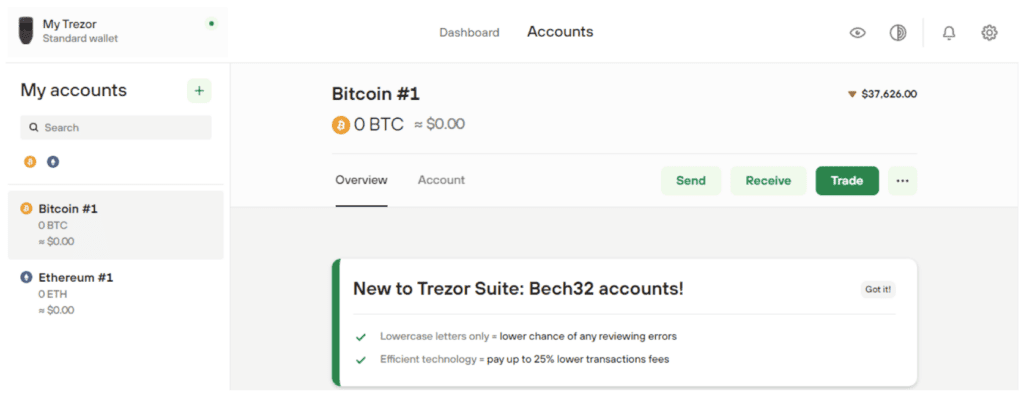
The “Dashboard” window appears in front of us where we can find information about our assets and security levels. Here we can also change the pin-code or make the balance of our account hidden. But let’s move on to the “Accounts” tab because there is much more going on here. On the left we see the accounts dedicated to our two coins, and on the right the details of each of them. “Overview” is the space where the history of the transactions made will appear. In turn, in the “Account” tab, you will learn more about the wallet itself, as well as accessing the public key.
The most important function of Trezor is storing cryptocurrencies. Thus, we see three buttons. One is “Send” which allows you to send your assets to an exchange or to a different wallet. The second one is “Receive” with which we can receive cryptocurrencies from any other wallet. The third one is “Trade” where you can make quick purchases via the built-in Trezor exchange option.
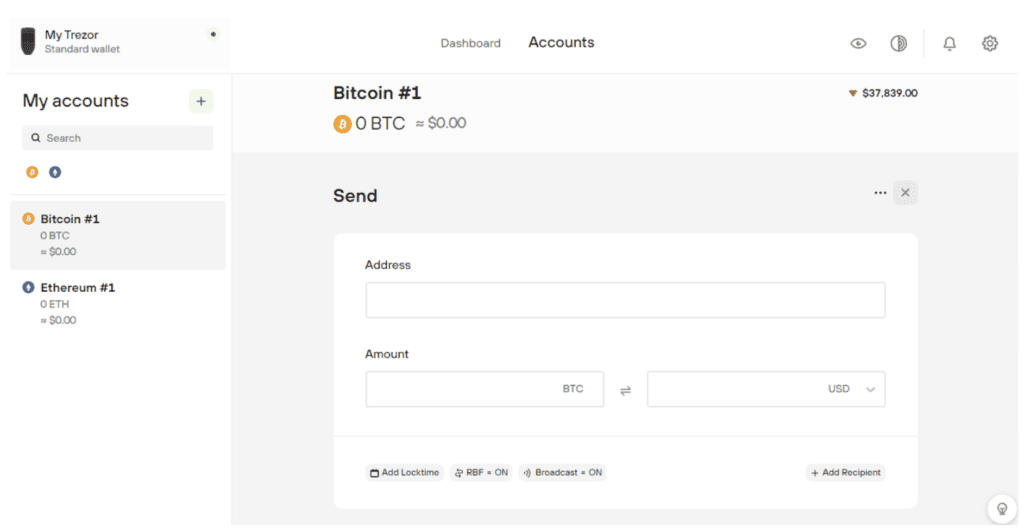
Let’s take a closer look at the “Send” and “Receive” options. When sending assets, we should enter the address to which we want to make a transaction. Below the address you should put the quantity. In the example below we can see that you can do this by placing the value in BTC or its equivalent in USD. Below the window you just need to add the fee you would like to spend on the transaction.
Finally: Press confirm and you’re done! Now the transaction is broadcasted and will be put inside a block by the network miners. You can track the amount of confirmations that your transaction has inside Trezor Suite.
Important to note is that every transaction needs to be confirmed on the Trezor device itself, which is a great security feature. In practice this means that you need to confirm everything on the Trezor device display. Never confirm a transaction on the computer only, because it could be compromised by malware!
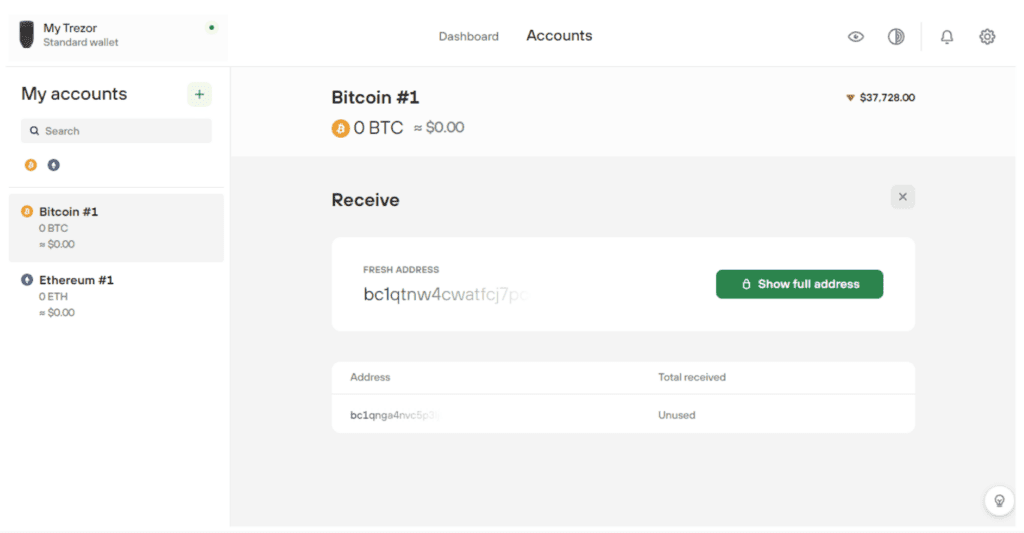
Receiving coins is equally simple. In the tab dedicated to it, we can see the full address to the transaction. After clicking it both it and the corresponding QR code will appear in front of our eyes, to which we can also send the transaction. Each time you use it must be checked and confirmed on the device for security reasons.
Trezor support
A very important element of Trezor is its support. In the bottom right corner of each of the images we have added, you will notice a light bulb symbol. When you click on it four windows will appear. In them you will find answers to the most common questions. The categories covered are Privacy, Security, Package Basics and Supported Crypto. If this area doesn’t exhaust your needs, take a look at the official Trezor website where there is a blog detailing various issues, as well as a “Support” tab with a solid dose of knowledge.
As a last option there is always the option to get in direct contact with a Trezor support agent through email. In our experience this is the best way if you have difficulties or really need personal support.
To sum up the Trezor One
Operating the Trezor One crypto wallet is a real pleasure. We could write about it endlessly, however we decided to touch on the most important features for you as a potential user. The security level of the device is impressive. The transparency of its operation is equally solid. No wonder it is among the industry leaders. Definitely, every crypto Hodler who wants to have peace of mind and his or her own little crypto bank should consider buying one.

